Thursday, July 23, 2009
Twice as Nice
Here's one of my experiments in over dying. You can see what a difference using an acid dye vs. a pigment dye makes. A pigment dye washes out to a soft, stonewashed looking gray--the acid dye remains a vibrant black. I then over dyed this one with a fiber reactive dye. A little extra work, but a nice effect!
Wednesday, July 22, 2009
Matching Skirt and Veil Sets. . .and Finally, Red and Black!
I finally have a few more things to post! I've been experimenting with acid dyes, and have gotten some interesting results.
Here's one of my favorites, a black silk belly dance veil with fiery red borders. I've also made a handkerchief skirt to match this one. It's the same pattern I used to make our troupe skirts a few years back, so see my previous post for instructions. I've made up eight of these skirts in total--while a simple design, they take a lot of work so I'm not sure if I'll be offering them in my Etsy store very often. (In other words, they may go fast so if you'd like one dyed with a matching veil in a certain color, email me!)
Here's a much lighter version of the same red dye--it turned out more of a bright cherry red. Still not quite the stop sign red I was hoping for, but it's getting closer at least. click on the photo to see where this one has been posted in my Etsy store.
More belly dance goodies to be posted soon!
Tuesday, July 07, 2009
Two more!
Thursday, July 02, 2009
New Bellydance Veils Posted
I added a few more items added to my Etsy store tonight! Click on the links to go to each individual page:
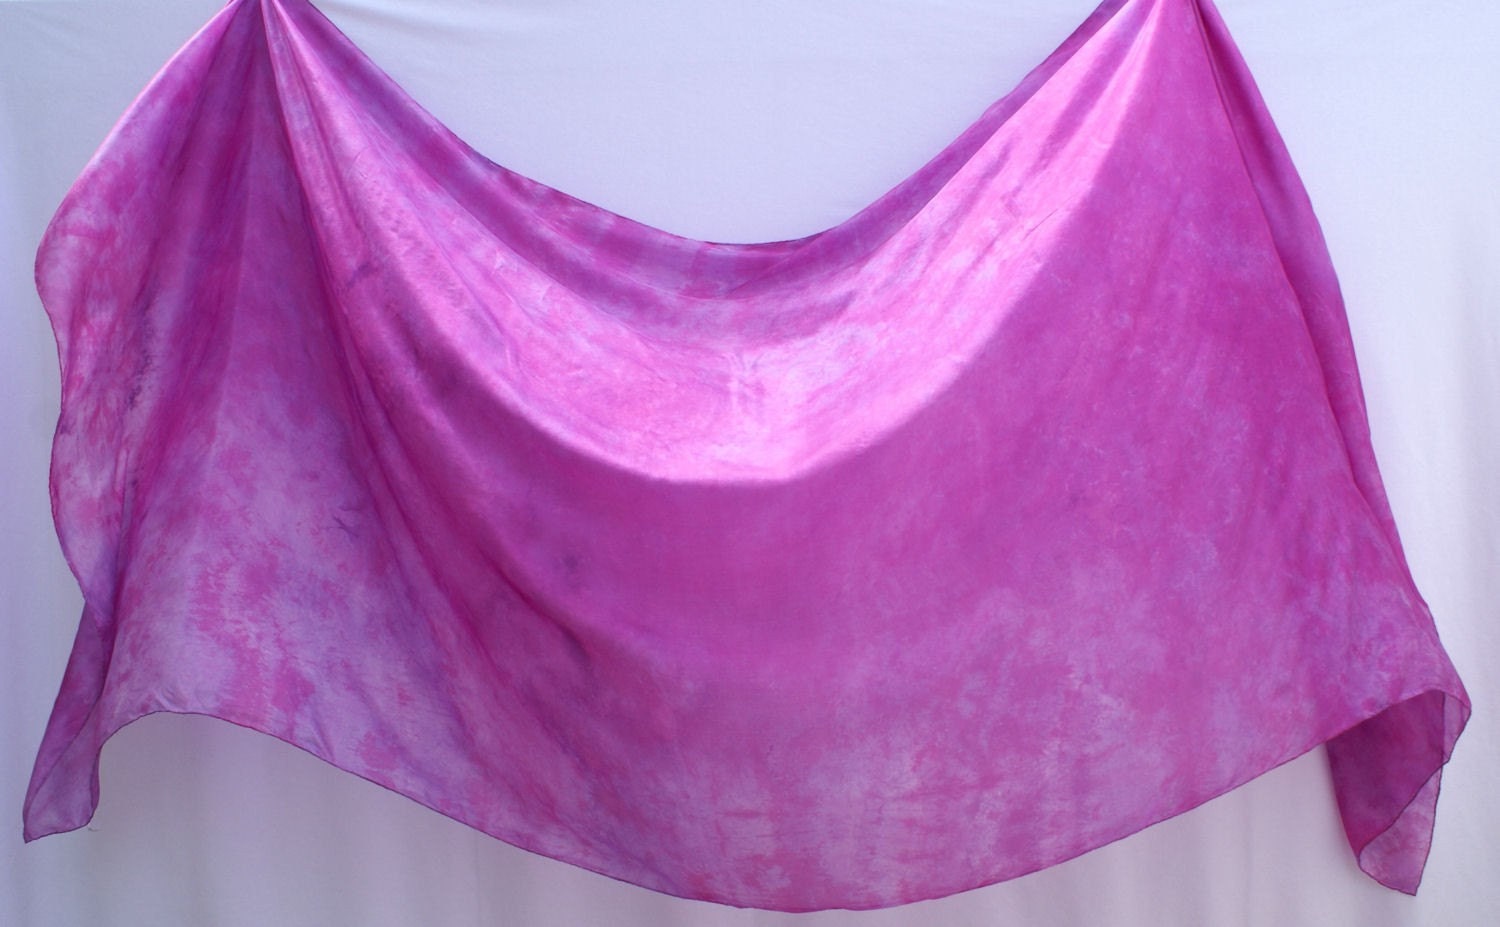
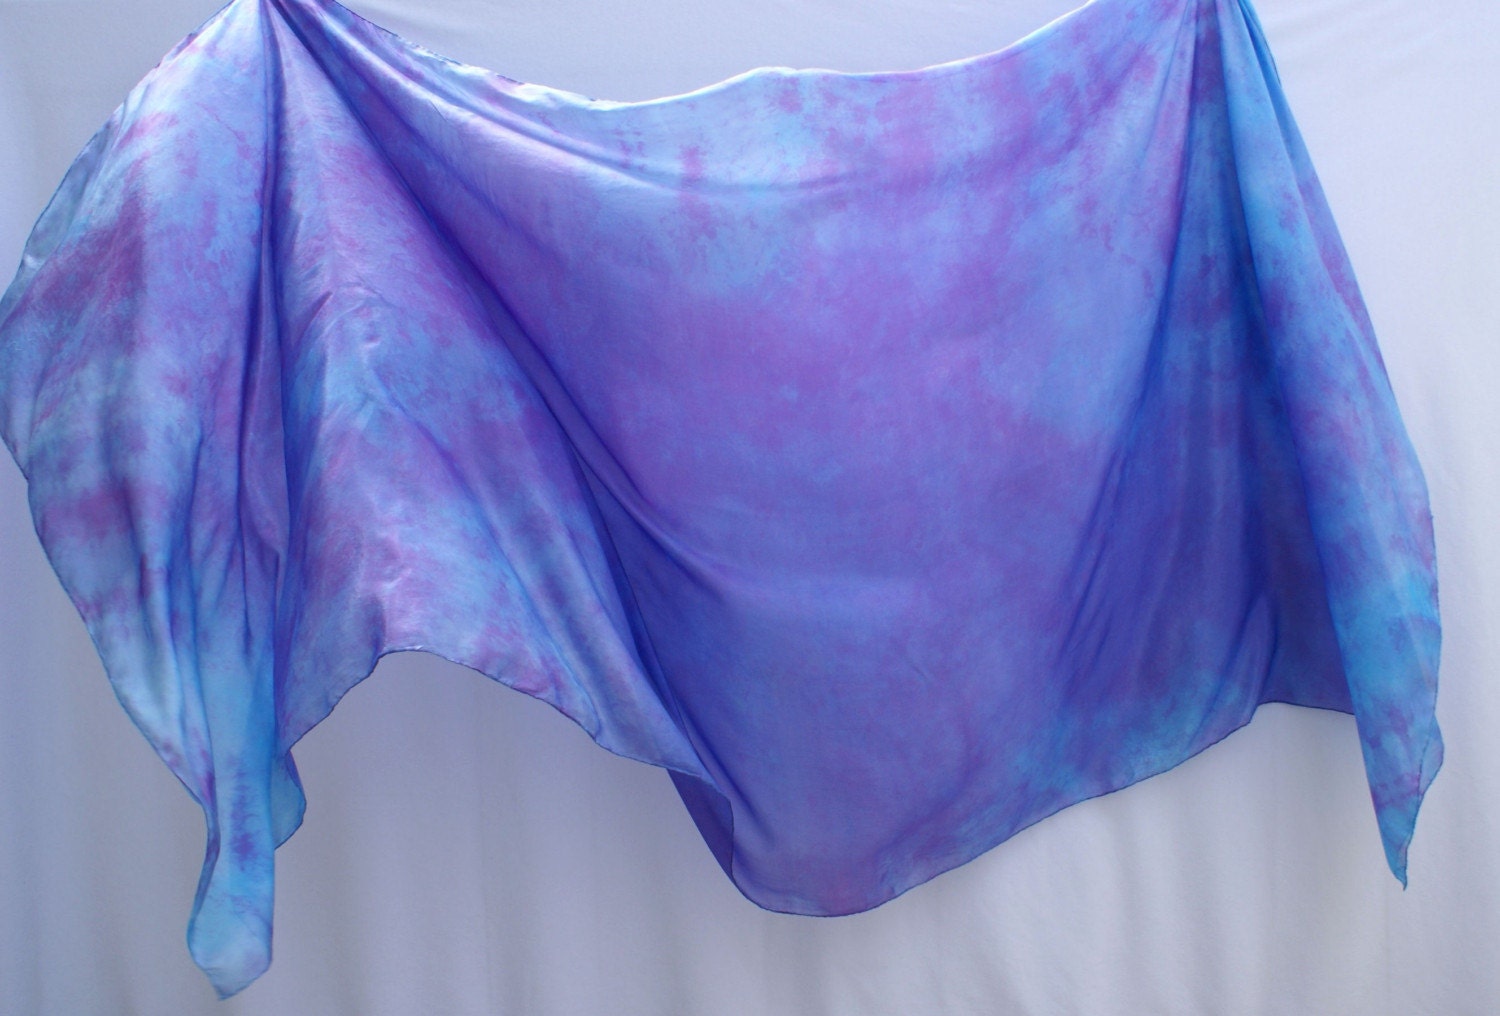
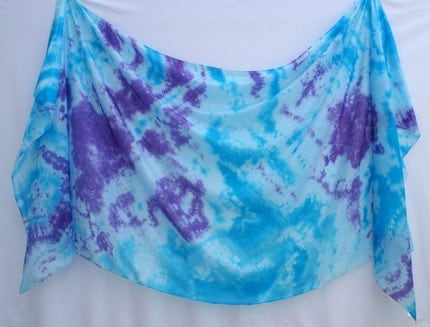
Bellydance Veil Hand Dyed Silk Purple and Fuschia Pink
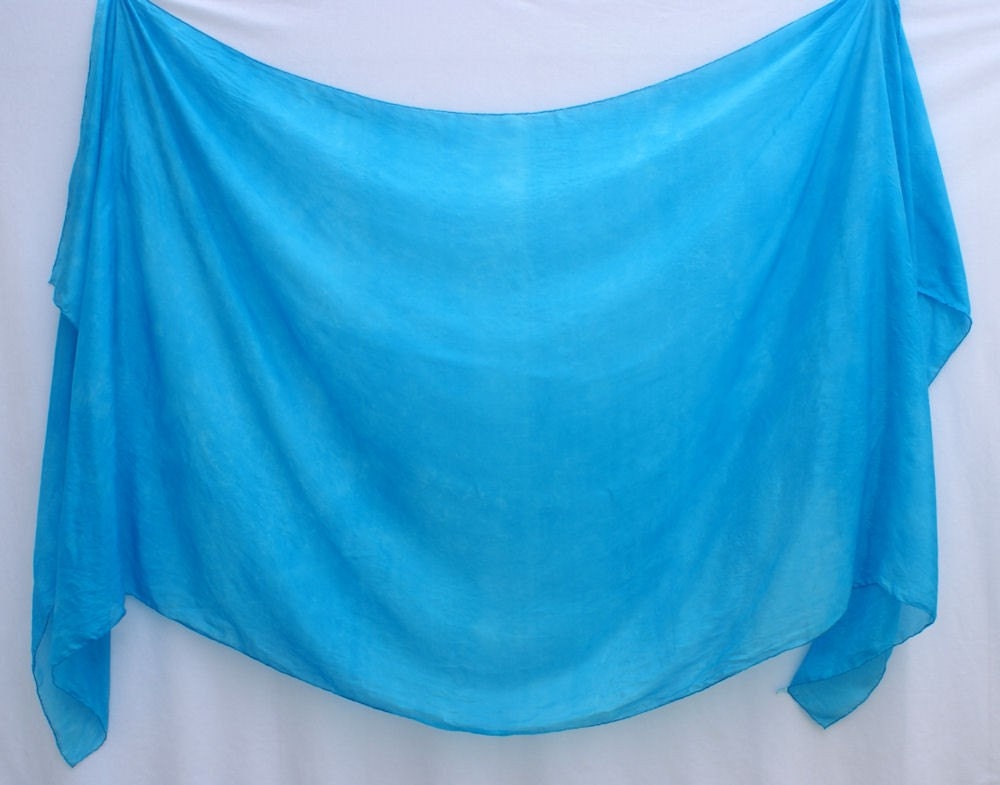
Bellydance Veil Hand Dyed Silk Turquoise Blue
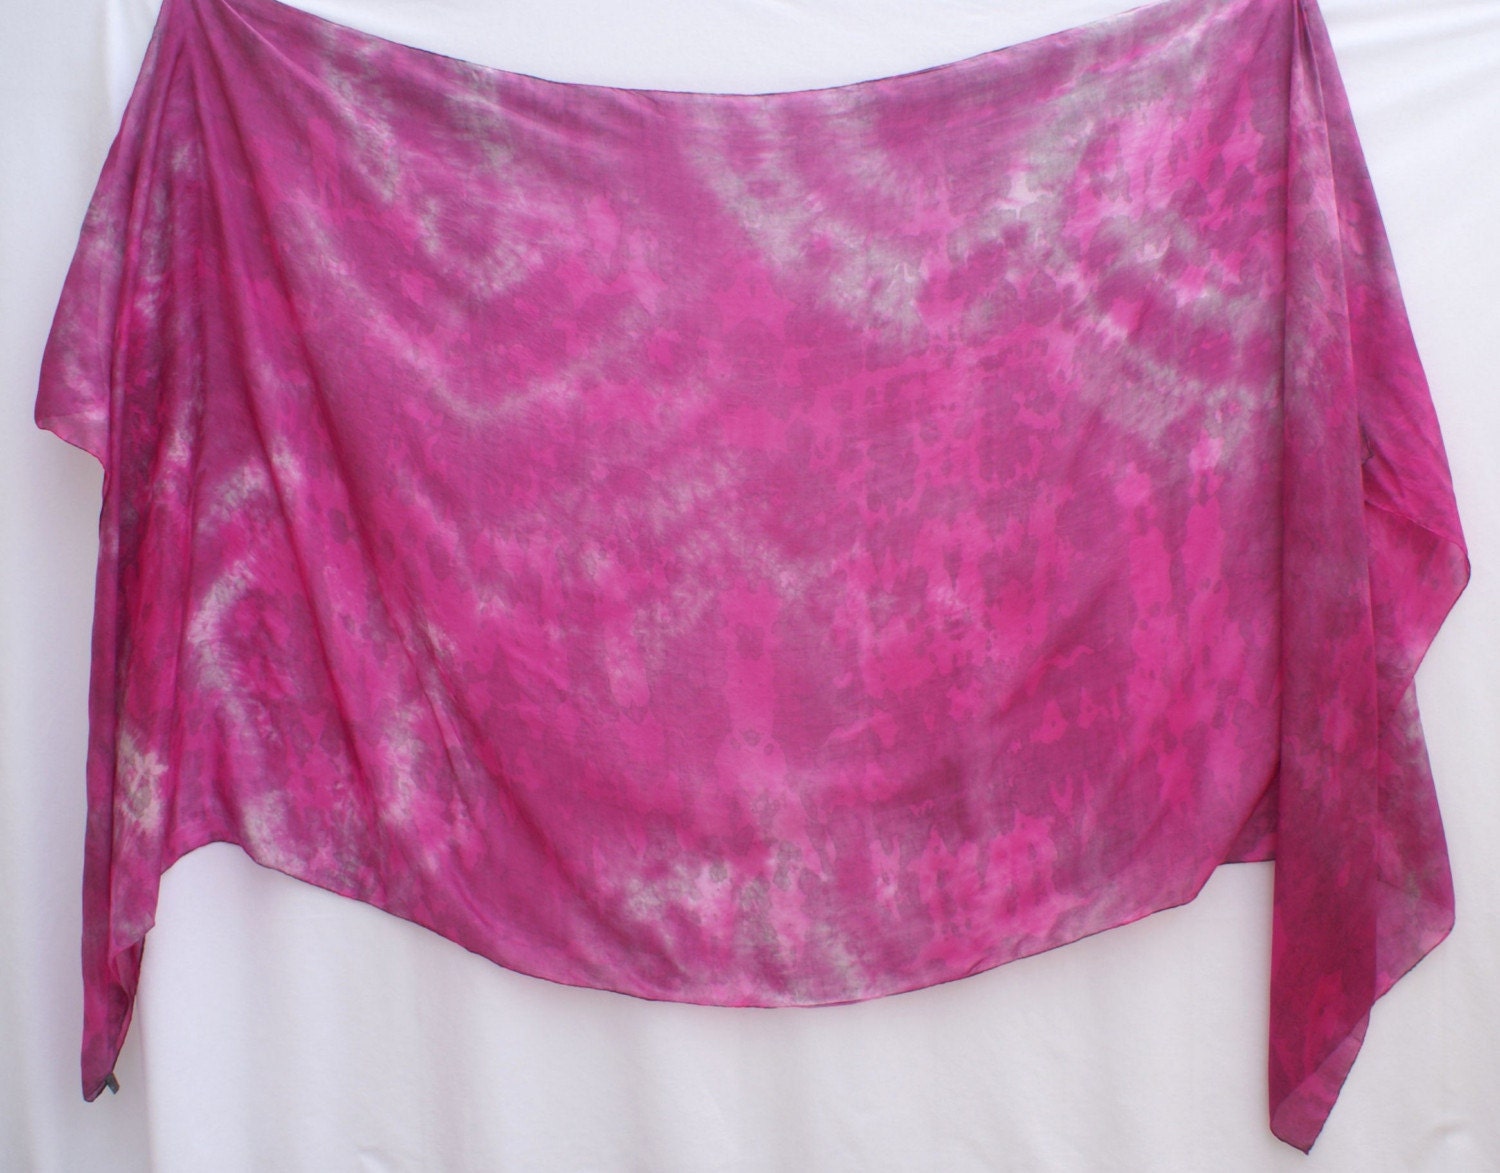
Bellydance Veil Hand Dyed Silk Fuschia Pink Silver Gray
Bellydance Veil Hand Dyed Silk Purple and Turquoise Blue
Scrunched?
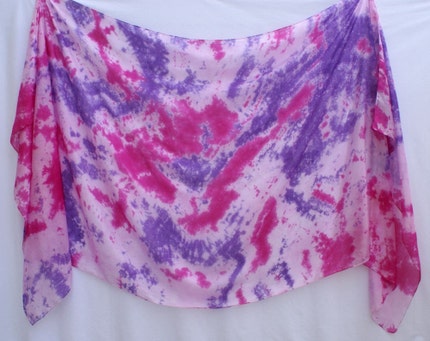
I was recently contacted by someone who was interested in a custom veil order. She noted that in the custom listing I have on my Etsy store, I mention that I usually "scrunch" dye my silks. She asked what that meant, and it got me to thinking--what does it mean? I thought maybe a demonstration of what I meant would be best! Here are two identical color combinations from the batch of veils I just finished.
The one on the right was done by scrunching the fabric very tightly before applying the dye, which keeps the colors from mixing. As a result, you get a lot of "white space" between the two colors, and for the most part they stay separated. This is a good technique to use if you are using two very dissimilar colors which may not blend well if they combine.
The one on the left, believe it or not, was made using the same exact colors--only this time, the fabric was very loosely scrunched and I worked the two colors of dye through the fabric--scrunching it as I applied the dye. Quite the difference! You still get some blotches of the individual colors, but I work hard to make sure there is no "white space" and that the colors blend more softly.
Although they are scrunched in different ways, I like both styles--which do you prefer?
Subscribe to:
Posts (Atom)